How To Create A Blog With Webflow (2025)
If you are from an in-house marketing team or an independent creator, you must have an idea about blogging on Webflow. Isn’t it?
If not, then from now onwards, Webflow is going to be your best friend!
Webflow can let you kickstart your blogging journey with whole new ardor.
Yes, you heard it right. Webflow puts the ultimate power in your hand. Just think about how a simple double-click can take you to edit. Isn’t it awesome?
It is!
So if you are looking for such an experience and are curious to create a blog in Webflow, you landed in the right place. This blog will take you on a journey where you will get insights into Webflow and CMS. You will learn everything about creating a Webflow blog from scratch.
Let’s begin the journey.
Table of contents
What is Webflow?
Webflow, also known as the web development platform of the future, lets you create, collaborate on, and scale impressive websites in a completely visual canvas without letting you put your coding skills into action. It is used by more than 3,500,000 designers and teams across the world.
Webflow is one of the powerful platforms for all kinds of bloggers. It gets you rid of various tools used for graphics, visual designing, prototyping, etc., thus simplifying the process of web designing by enabling you to design and develop in one go.
In simple words, Webflow lets you create a blog, design, and edit on a single page.
Why You Should Create A Blog with Webflow?
Well, there are many reasons to choose Webflow for blogging. Webflow not only makes blogging easy but also provides ample opportunities when it comes to customization and experimentation.
Here are some of the top reasons.
- Quick & Easy: What makes Webflow unique is the ease of learning it offers. You can quickly start on Webflow with minor tweaks to the visual design and content structure. Once the time passes, you will learn more about customization using the tool it offers. When you compare it with other platforms, it offers fast and easy learning, even for a layperson.
- Intuitive CMS: When it comes to effective blogging, CMS (content management system) plays a vital role. Webflow includes an intuitive CMS and is known for two main reasons.
- On-page editing: What can be more intuitive than double-clicking a text for editing. It is basically like writing and editing on Medium. But here, you will be editing the website. Isn’t it awesome?
- Customizable Content Types: Webflow gives you the power to tweak existing collections (content types) or make your own from scratch with ease.
- SEO-friendly: When it comes to blogging, it’s hard to ignore SEO. It doesn’t matter how good your blog is; if you are missing the SEO section, you are missing an opportunity to be discovered by your potential audience from around the world.
Webflow is fast, cleanly coded, and responsive. Apart from this, it comes with a unique feature of auto-generating meta titles and descriptions, adds alt tags to the images, and offers Open Graph (OG) settings specifically based on the content, thus giving you an upper edge when it comes to search engine rankings.
Step-by-Step Guide to Create a Blog with Webflow
After going through this article so far, you must have gained an idea as to why to create a blog with Webflow. Now it’s time to go practical and use Webflow for blogging.
Below are the steps for the same.
Step 1: Create a Webflow account
Just create an account on Webflow and start with a free version. You can later upgrade to another plan as per your requirement once you enjoy using the free version.
Step 2: Pick up the desired template
It is good to go with a CMS-powered template to get access to on-page editing and CMS panels. This will prevent you from diving into more complex editing, especially during your initial days on this platform. You will easily find a large number of templates as per your requirement.
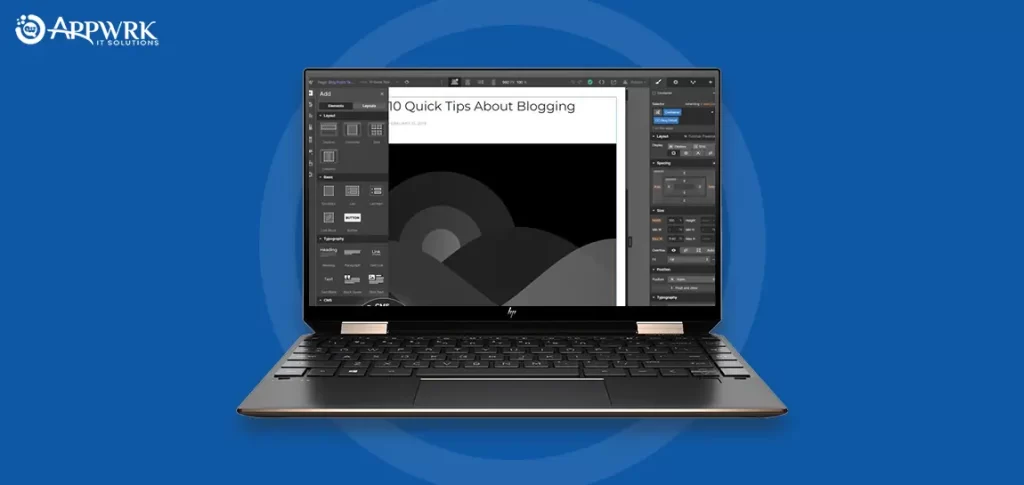
Step 3: Go for customization
This is when it’s time to show your innovation and skills. Although you can keep the selected template, giving a personalized touch will add fun to blogging.
Here is what you can do to add more fun.
- Typography: Changing the typo of your Webflow blog is going to be your first step in customization. You can choose the desired font, adjust the size, and do much more to give a whole new touch to the design. This department is going to offer you a lot of options for experimentation.
- Addition of images: Once you are done with the fonts, size, and all that typography stuff, it’s time to give a new vibe to your Webflow blog. You can add images and shadows for various components to give a clean and impressive look to your Webflow blog. This will help you catch the attention of the potential audience without spending a lot of time and effort.
- Experimentation with elements: Once done with adding catchy images, it’s time to have fun. Whether it’s image collection highlighted quotes or any other components, you can play around with them. This will help you to create a unique yet impressive design.
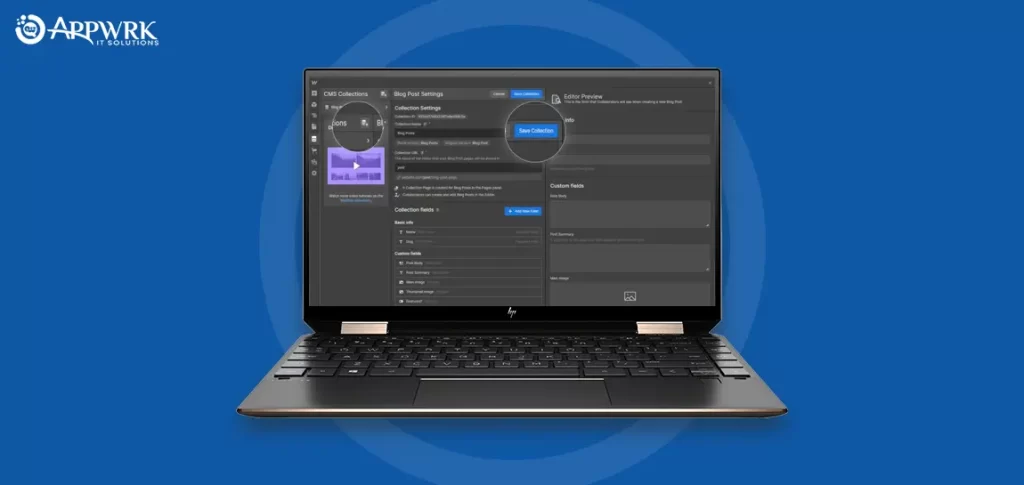
- Customization of collection: This is another power handed over to you by Webflow. Although collections (content types) are quite easy to make, you can further take this process to the next level by utilizing Webflow CMS. Just update the category collection that’s relevant to your Webflow blog and watch the magic turning around. This is going to change the part of the URL. As a result, you can reap the benefit, especially whenever you have to post later.
Step 4: Make a post
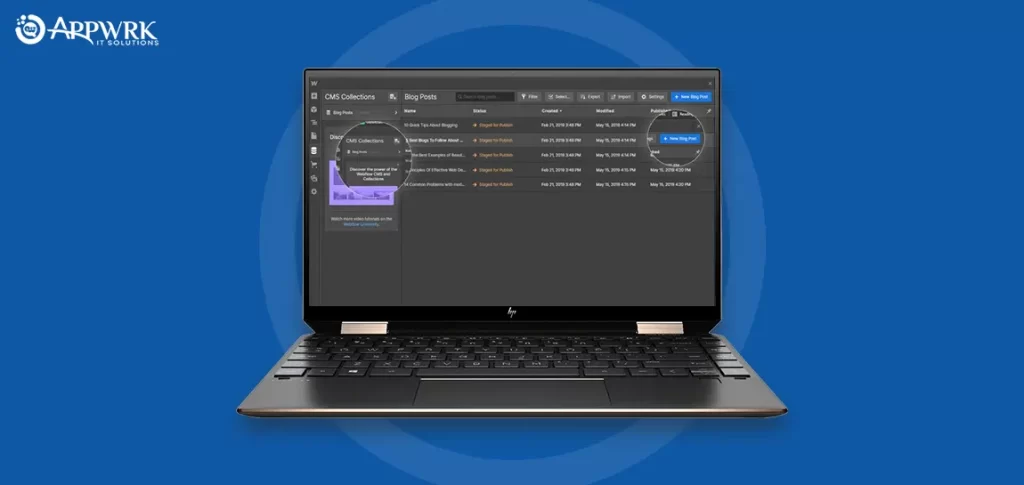
It’s time to create content and publish it. When it comes to creating content on Webflow blog, there are two ways to do so.
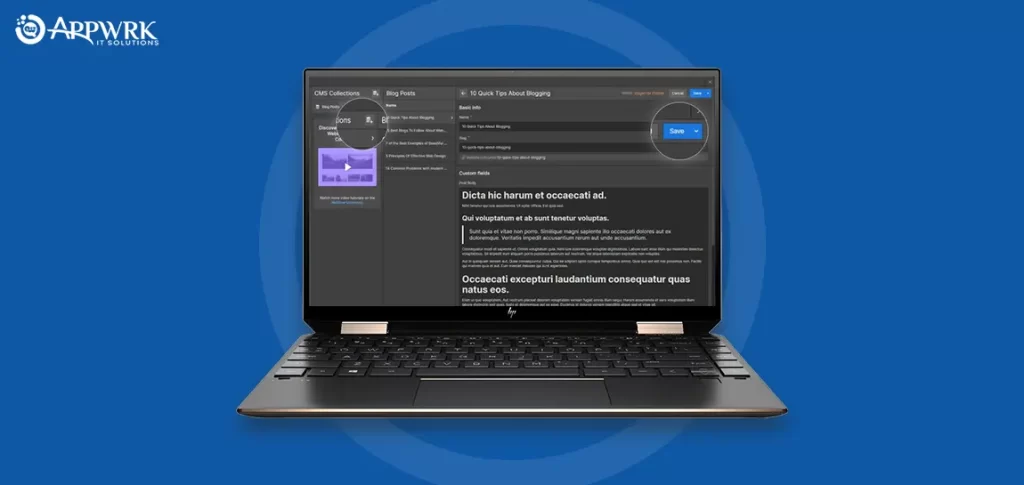
- Updating the sample blog: Update the content within the Designer before you get it published. This will work when you don’t want anyone to see your blog’s sample content.
- Publish and update content: Publish your site, followed by updating the content in the editor. Here the chances are rare that someone will accidentally click on a new blog with weak SEO.
Now, as normal CMS platforms let you preview your changes before you publish them, it appears to be great, but not every time. The chances are high that most of the time, you will lose track of the tiny changes you made. This, how words and visuals look on a page are critical. This is what a content writer wants to see instead of trapping in the editing phase, then previewing.
Once you successfully reach this milestone, it’s all you need to make the most of Webflow design. Now you are free to keep your focus on your Webflow blog’s content.
Giving Real Power to Creators: Create a Blog with Webflow
Gone are those days when there was a requirement for high budget and high-level coding skills to make a website. This is the era of Webflow, where you are empowered with a platform that doesn’t demand your coding skills or high budget anymore. Webflow not only offers you an ultimate platform for blogging but also gives you an opportunity to do branding and marketing for yourself without getting heavy on your pocket. This way, it lets you bring out the best blogger within you. So, this was our today’s article on Why and How To Create A Blog with Webflow.
Hope you gained some good information from it. If you want to hire affordable Webflow Developers who are experts in creating Blog websites, then we got you covered. APPWRK IT Solutions has 40+ Webflow developers for hire. Hire an expert and Build your Website in 1-2 Days at max and Start Blogging at the earliest!
Related Links:
- What is Webflow?
- How Much Does It Cost To Build a Webflow Website?
- How Many Days Will It Take to Build a Webflow Website?
- How to Integrate Shopify with Webflow?
- How to Integrate Mailchimp with Webflow?
- How to Convert Figma to Webflow Step by Step?
- How to Migrate WordPress Websites to Webflow?
- How To Build a Webflow Website?
- Top 10 Things to Consider for Webflow Website Development
- Checklist to Make Google-Friendly Webflow Websites
- Want To Have A More Appealing Webflow E-commerce? Read This!
About The Author






 Free Quote


